How to edit to the beat: plan it before you shoot
Cutting on the beat is decided before the camera comes out. How to read where a song changes, decide how many shots each part needs and how long each one holds, so the edit falls into place instead of being hunted for.
Every tutorial on editing to music says the same thing: cut on the beat. It is good advice, and it arrives too late. By the time you are in the editor, the footage is what it is. If the shot that should land on the drop is three seconds long and the drop needs five, no amount of nudging will fix it.
The people who make this look easy do one thing differently. They decide where the cuts go before they shoot, and they film each shot for the slot it is going to fill. This guide is that method: how to read where the song changes, how to decide the cutting rhythm of each part, and how to leave the editor a plan instead of a memory.
What "on the beat" actually means
The beat is the pulse you tap your foot to. Beats come in groups of four, called a bar, and the first beat of each bar is the strongest; musicians call it "the one". That is the whole vocabulary.
Now the part the tutorials skip. You do not cut on every beat. A song at 120 beats per minute has two beats a second; a cut on each one for three minutes is exhausting to watch, and nobody does it outside a thirty-second promo. Dancers don't move on every pulse either. They move when something changes.
So the rule of the trade is: cut where the music changes, and let the beat decide the exact frame. A new instrument comes in, the drums drop out, the chorus hits, a voice goes quiet. Those changes are the song's sections, and a section change is where the picture wants to change too. If you haven't found yours yet, how to cut a song into sections gets you there in three listens.
The numbers, if you want them
You can plan a whole video without counting a single beat. But when you want a shot to last exactly two bars, the maths is short:
Seconds per beat = 60 ÷ BPM. A bar is four of those. At 120 BPM a beat is half a second and a bar is 2 seconds, so an 8-bar section is 16 seconds. At 90 BPM a bar is 2.7 seconds. Any tempo app on a phone gives you the BPM; or count the beats for fifteen seconds and multiply by four.
Keep it as a trick for the moments that need to land, not as the plan. The plan is made in seconds, and seconds are what you will film.
Decide the cutting rhythm of each section
For each section, two decisions: how long a shot stays on screen there, and therefore how many shots you need. This is the two-minute example from the other guides, a city before dawn and someone running through it to the sunrise:
| Section | What the music does | Seconds per shot | Shots |
|---|---|---|---|
| Silence | Floats, no drums, nothing hurries | 10 | 2 |
| Waking up | A pulse appears, the track starts to walk | 6–7 | 3 |
| The run | The first big entrance, drums and bass | 7 | 3 |
| The bridge | Breathes, then climbs again | 10 | 3 |
| Dawn | The biggest moment of the song | 14 | 2 |
| Title | Fades out | 6 | 1 |
Two things in that table are not what beginners expect. Fast music does not mean fast cuts: The run has drums and holds each shot for seven seconds, because the shots move and the music moves and both moving fast is noise. And the biggest moment gets the longest shot: Dawn is one held take of the sun coming up over the river, with no cuts at all over the loudest part of the track. Contrast is the tool. A long shot after short ones feels like release; a cut after a long hold feels like an event.
Download the planner. The table above as a sheet, with a column for the start and end of each section and the seconds per shot already dividing into shots: cut-rhythm-planner.csv. Fill in your sections and it tells you how many shots you need.
Shoot for the slot
Once every shot has a length, you film differently.
- Film longer than the slot. A 7-second slot wants a 10- or 12-second take, so you can choose which part of it sits on the change.
- Start the move early, end it late. A walk, a drone orbit, a push towards a face: begin before the slot starts and keep going after it ends. The cut will find the clean part.
- Rehearse the hit. If something has to happen on the beat, a traffic light turning green, someone stepping into frame, make it happen at a second you know, and film it three times.
- Hold the holds. A shot planned at 14 seconds has to stay interesting for 14 seconds. Level the tripod, wait for the light, let it run.
Leave the editor the plan, not a memory
When you sit down to edit, the first thing on the empty timeline should be the sections, as markers with their names, and the shots on their seconds. Then editing to the beat is placing each clip in its slot and adjusting a frame or two, not hunting through forty clips for the one that might fit. One trade habit worth stealing: make the cut a frame or two before the beat, not on it. The eye needs a moment to register the new picture, so a change that lands exactly on the beat feels late.
The guide on markers covers how the sections get onto a Premiere, DaVinci Resolve or Final Cut timeline, by hand or as a file.
When the song isn't chosen yet
Half the videos planned this way start without a track. The method is the same, on a different clock: instead of the song's changes, you draw how intense each part of the video should feel, cut the parts on that, and decide the seconds per shot by energy. The guide on the emotional curve is that. When the song arrives, the sections and the shots move onto its seconds and the plan stays.
The same thing in PreFrame
The song is the timeline. The sections are cut on its waveform, and every shot sits inside its section with its seconds, so the slot each shot has to fill is decided, and visible, before you shoot it.
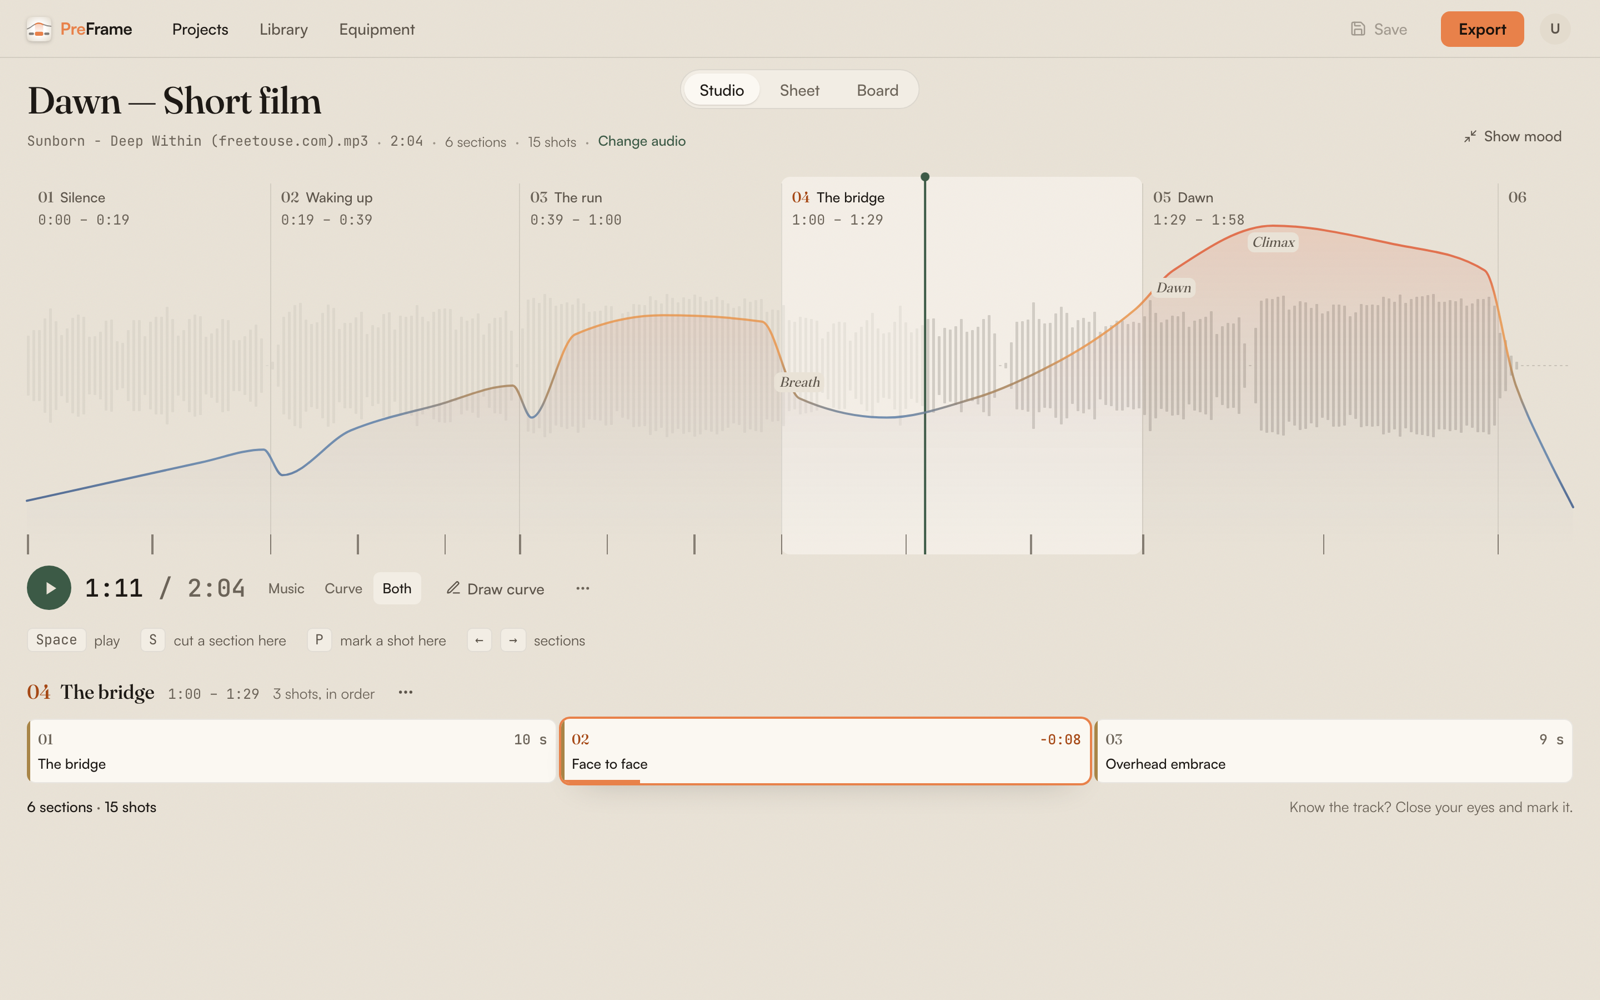
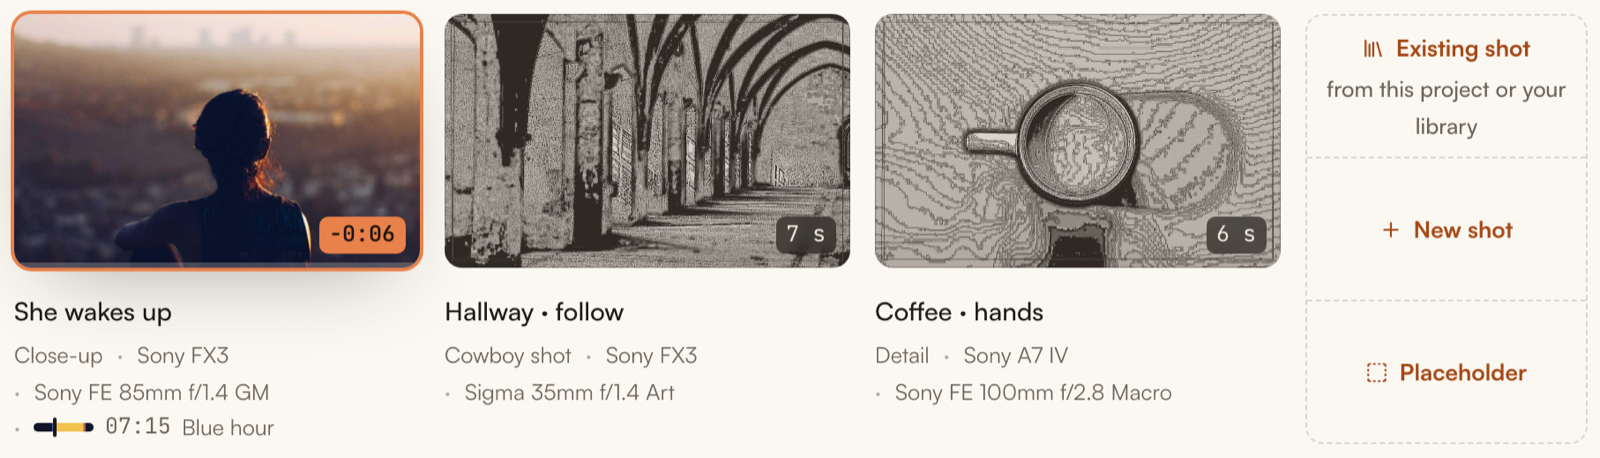
The markers for your editor come out of the same plan: one per section and one per shot, with its name and your notes, as the file Premiere, DaVinci Resolve or Final Cut imports. And when there is no song yet, the same sections and shots sit on the emotional curve until it arrives. How the export and the curve work is explained in support.
